Products
Solutions
Resources
9977 N 90th Street, Suite 250 Scottsdale, AZ 85258 | 1-800-637-7496
© 2024 InEight, Inc. All Rights Reserved | Privacy Statement | Terms of Service | Cookie Policy | Do not sell/share my information

There are two ways to conceptualize activity creation within InEight Schedule and depending on your intended outcome, there are benefits to each process:
Knowledge subnet
Create form scratch
Schedule leverages the Knowledge Base to rapidly build a schedule based on historical projects or existing templates. This feature enables you to pull in similar activities from Knowledge Base projects and adjust them based on the parameters of the project being created.
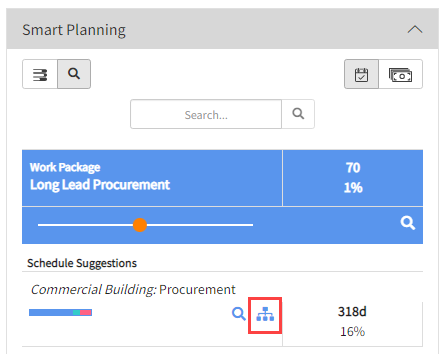
From the Iris > Smart Planning, under the first Schedule Suggestion, click Import Knowledge Subnet.
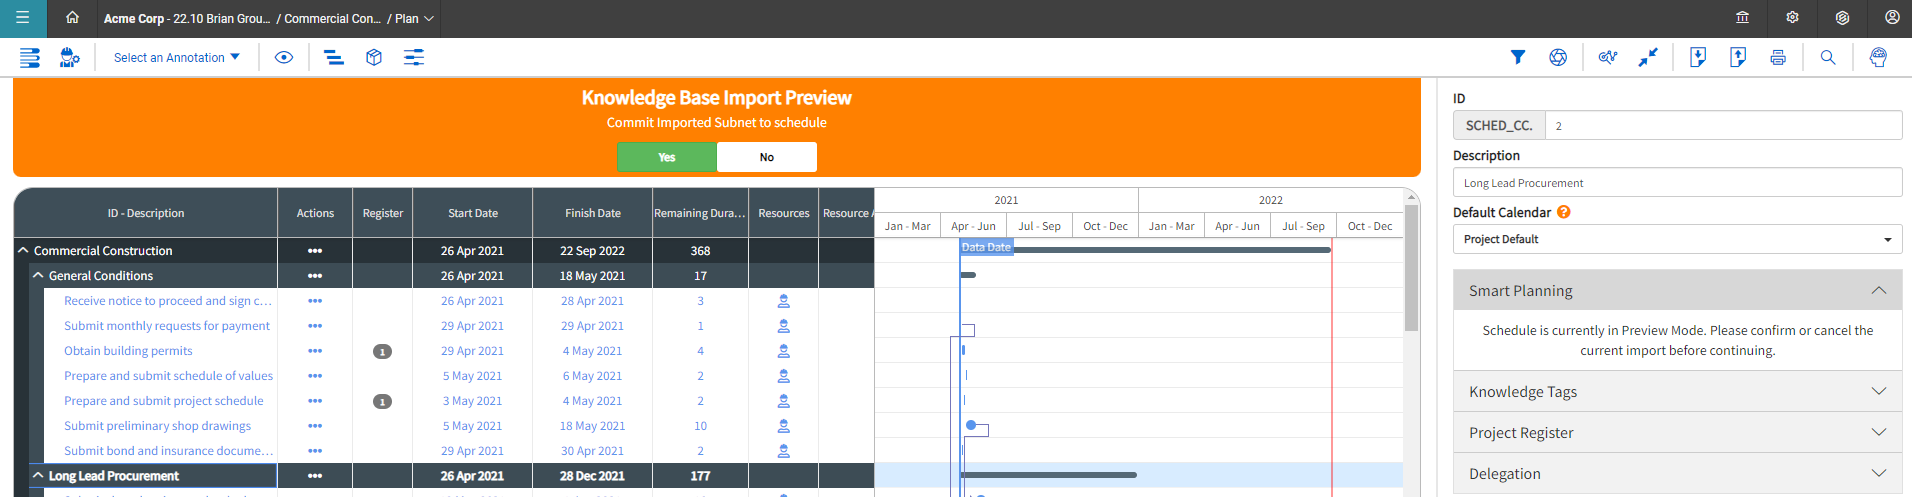
The merge window opens, letting you customize your selection of planning packages and activities. For this example include all packages and activities in the subnet switched on
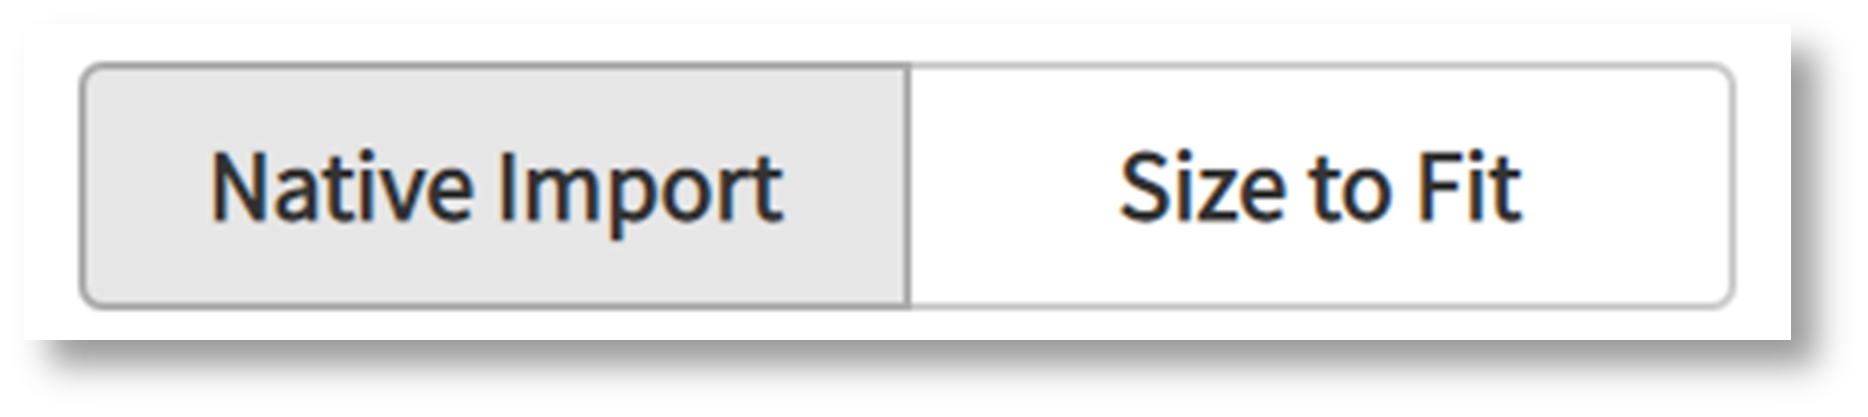
Native Import: it will bring in the selected subnet with the original durations from the Knowledge Base
Size to Fit: it will proportionally adjusts the subnet to fit within the duration of the Superior planning package in the current schedule

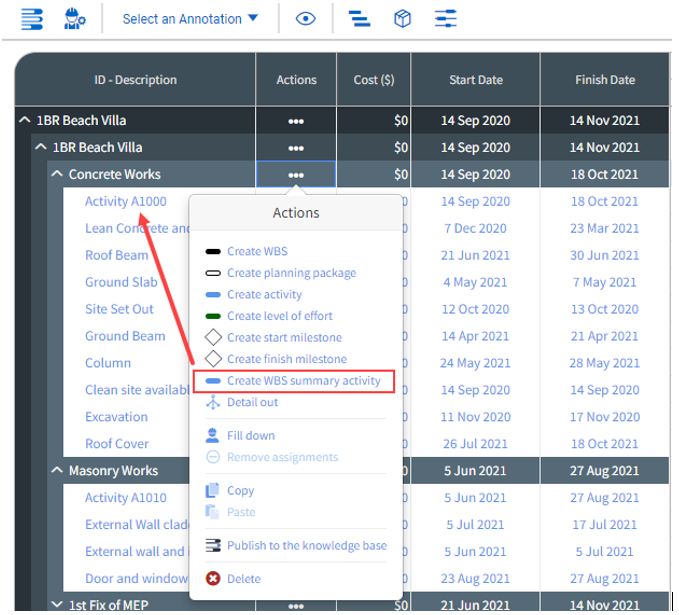
The second way to create activities is from scratch. This allows activities not yet in the Knowledge Library to be created on the project. Additionally, it provides schedulers total manual control when creating an activity.

In Schedule > Plan, you can create a WBS summary activity. Primavera XER imports support the WBS summary activity type and does not convert these summaries to Planning packages.
When you increase or decrease the duration of a portion of your WBS in your schedule, the WBS summary activity dynamically reacts to the modified duration changes.
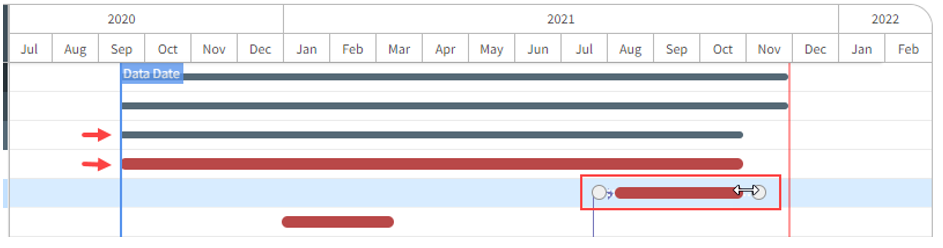
You can load resources into WBS summary activities to help linearly spread units over a specific time frame. Different calendars can be assigned to the WBS summary activity for tracking.
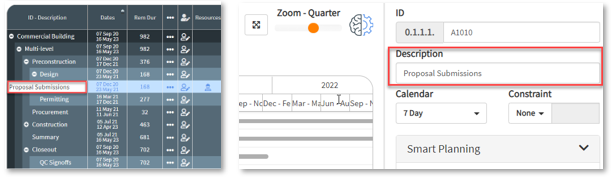
You can select an Activity Type in the plan schedule and change it from one type to another via a drop-down menu, which lets change an activity type without having to leave the page.
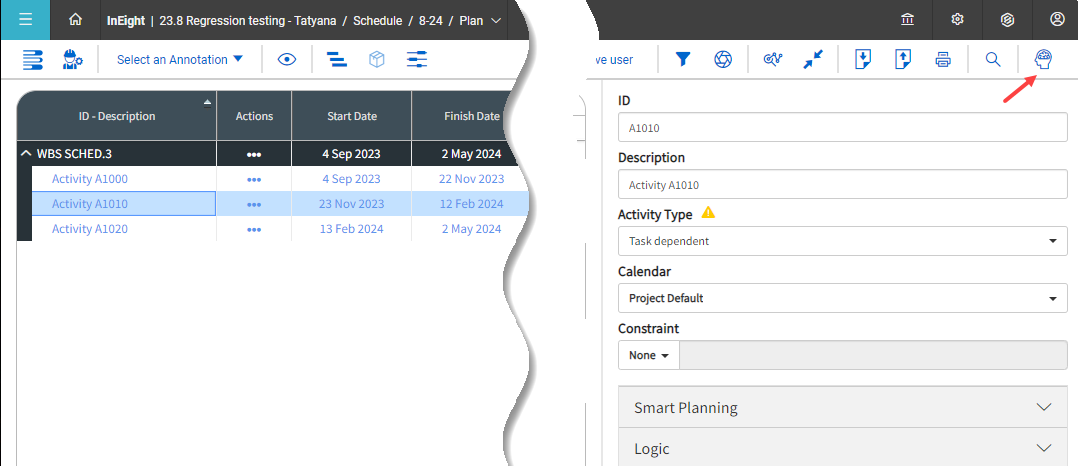
Click on Activity type drop-down, and select an activity type.

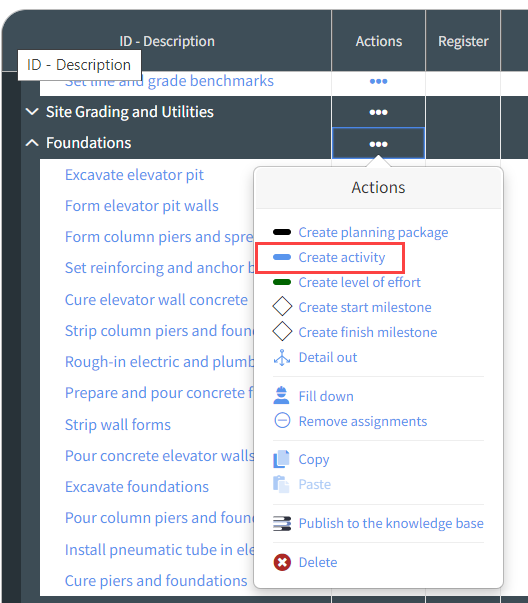
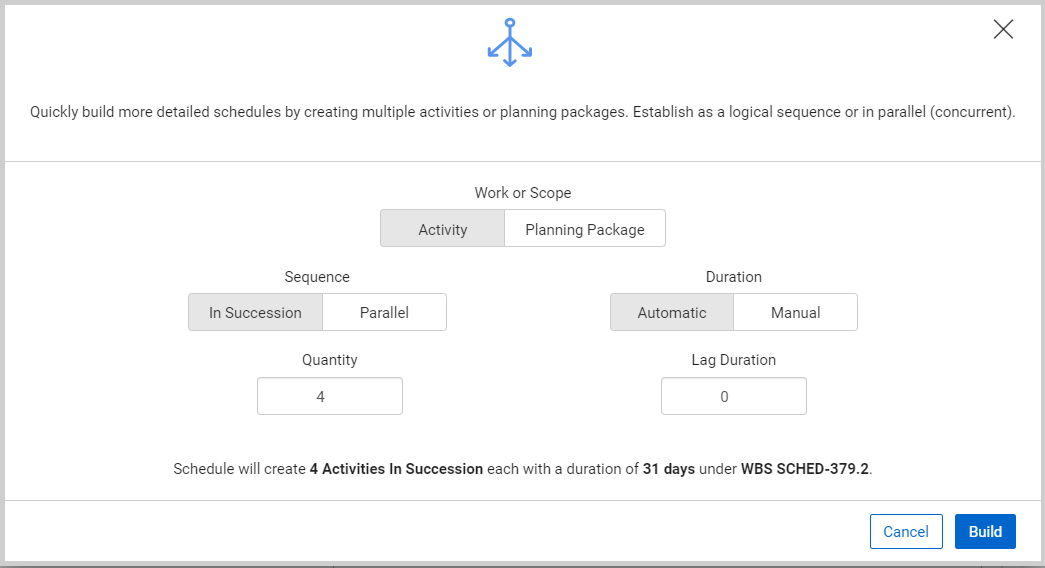
If multiple activities are to be created from scratch, the detail out function can be used as well.

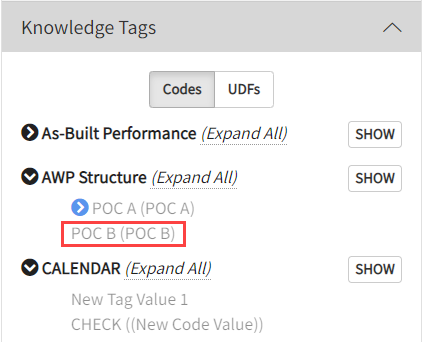
Knowledge Tags connect the data between the Knowledge Base, schedules, and activities. Assigning Knowledge Tags to planning packages and activities aid in associating schedules of similar scope, cost, duration, location, discipline etc. for InEight Schedule to generate suggestions and benchmarks.
The process of associating Knowledge Tags to activities is fundamentally the same for planning packages.
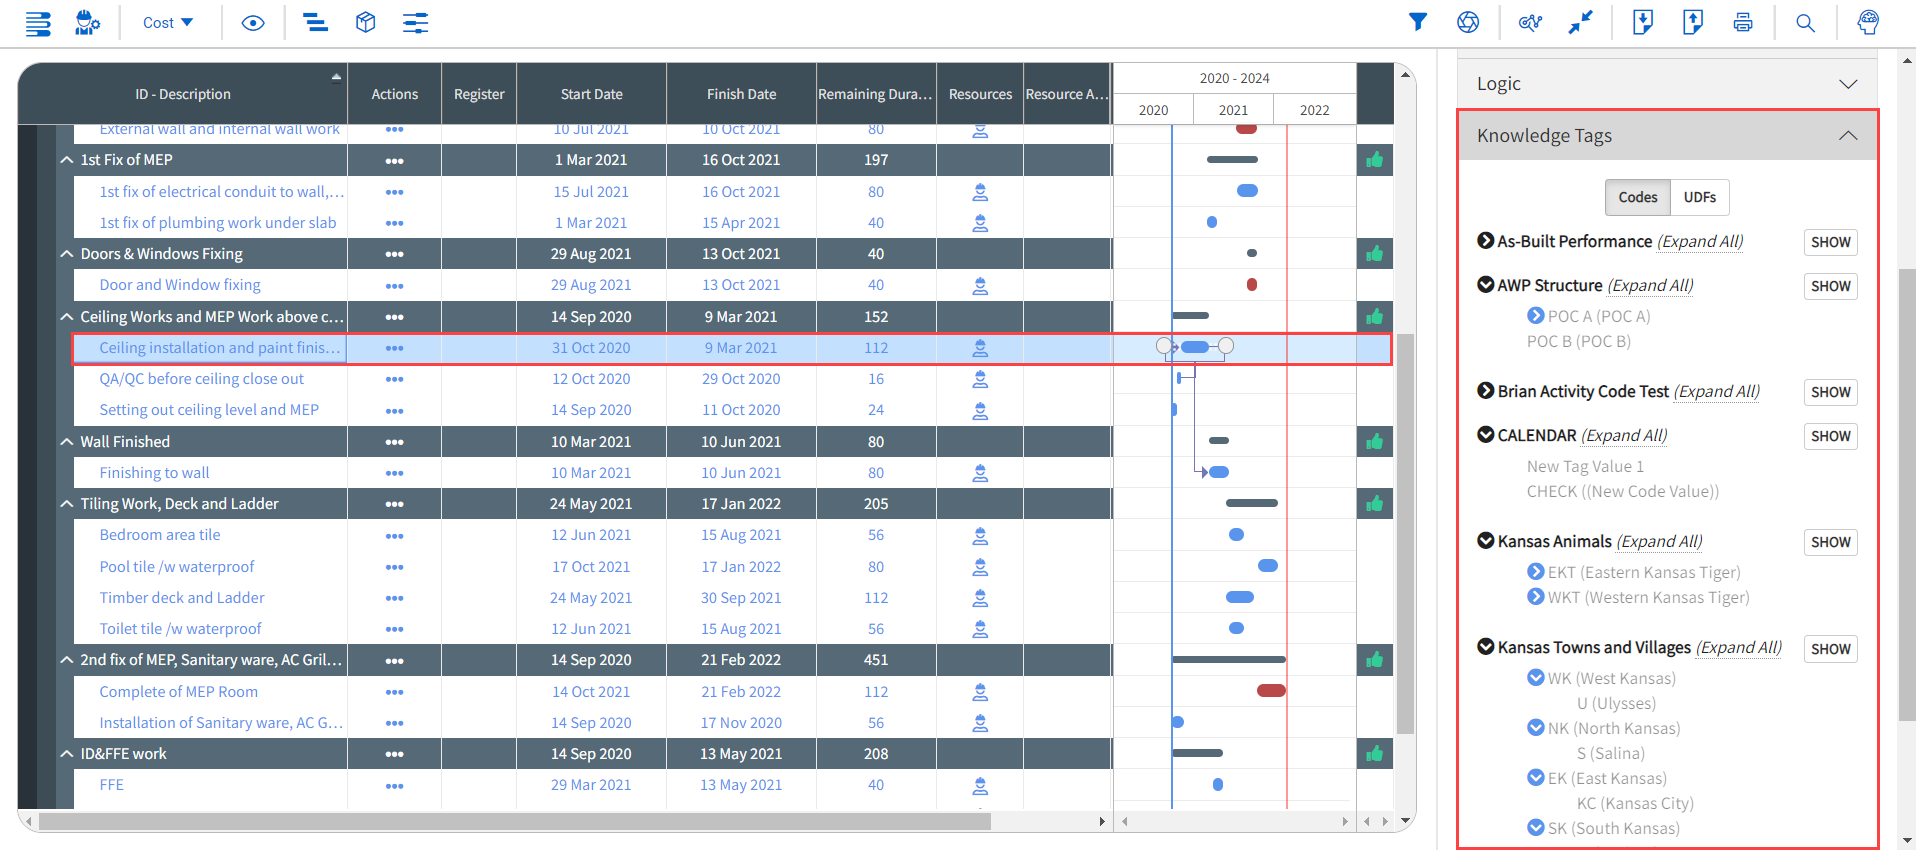
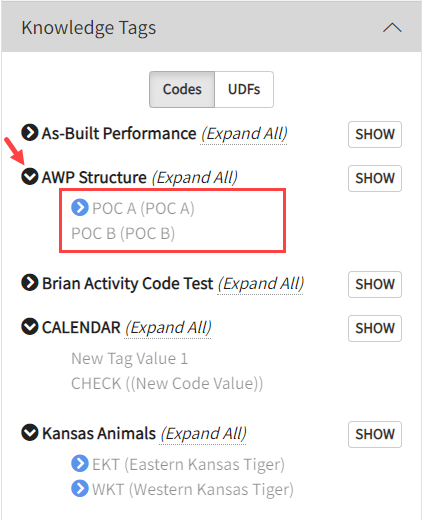
Some tags have “Inherited” values. These are rolled down from a superior level (i.e. assigned at the project level, assigned at the planning package level)
Logic is what links planning packages, activities, and milestones together throughout the schedule, for example when:
Within Schedule, there are two ways to setup schedule logic: via the Gantt Chart or the Iris.
The Gantt Chart has built-in functionality allowing activity logic to be tied together directly in the visual. This is great for quickly adding or adjusting logic in the schedule.
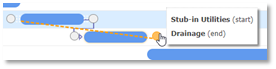
When hovering over any activity bar in the Gantt chart, two dots will appear at the beginning and end of the activity:

Clicking and dragging either dot from what activity to another will create a logic tie.
Connecting dots between activities, define the type of logic being applied.
| Function (Connect the Dots) | Logic (How to Connect) | |
|---|---|---|
|
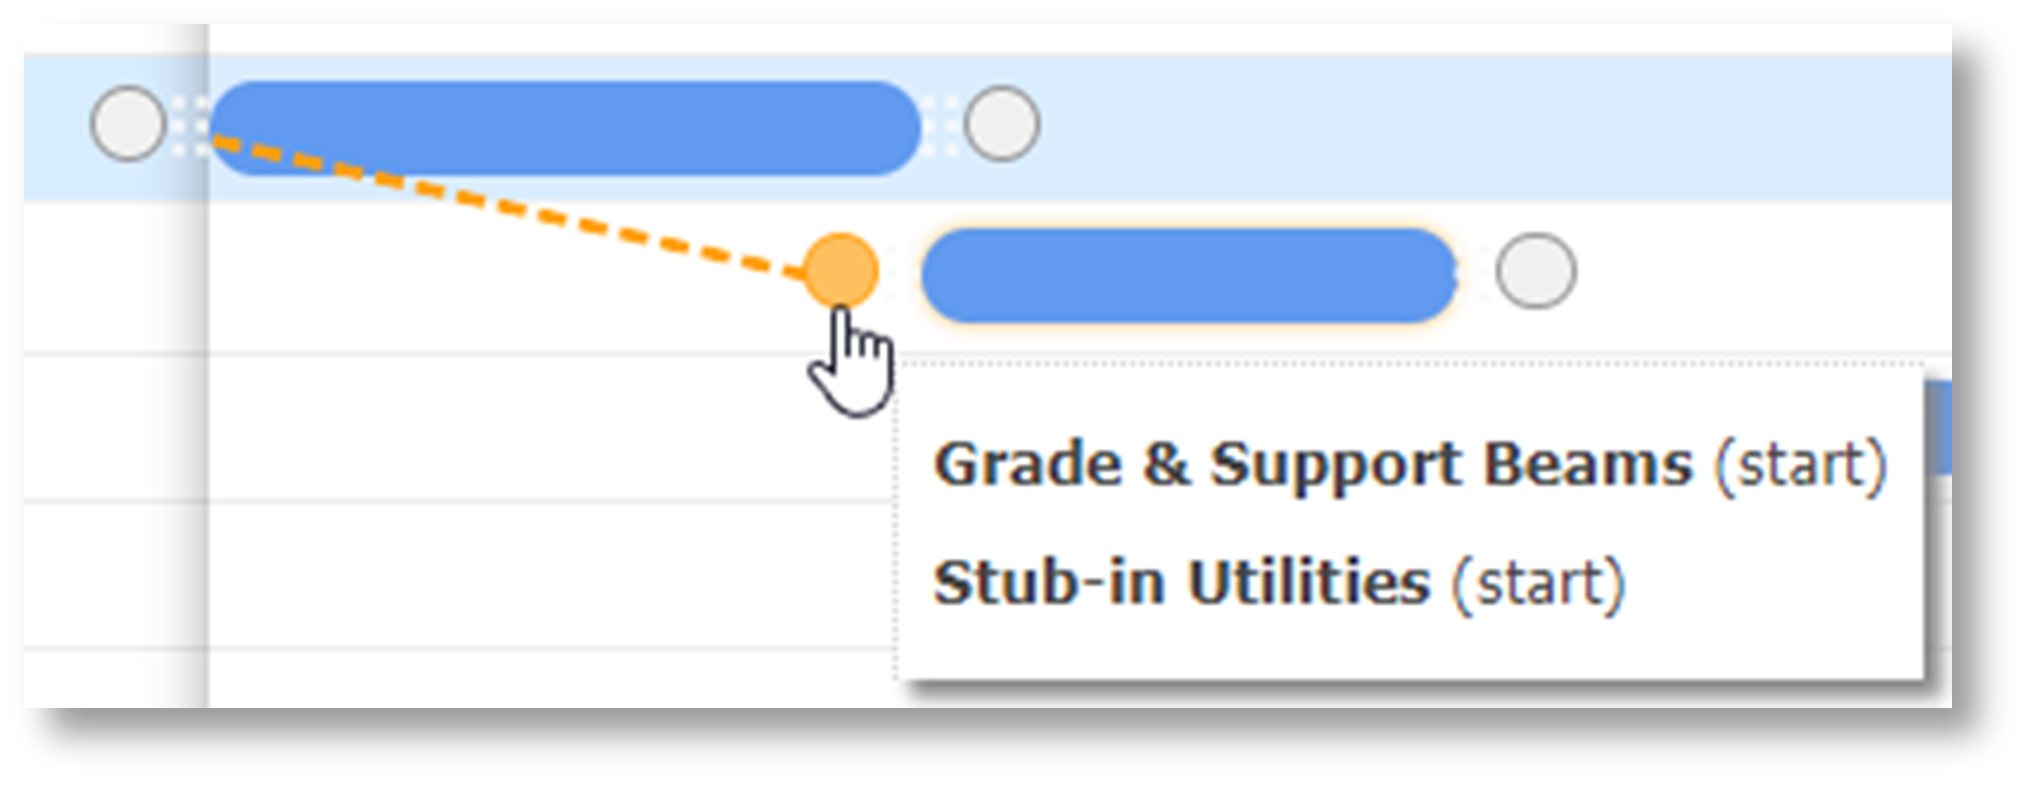
Start-to-Start (SS) |
Connect the start of one activity to the start of another activity |
|
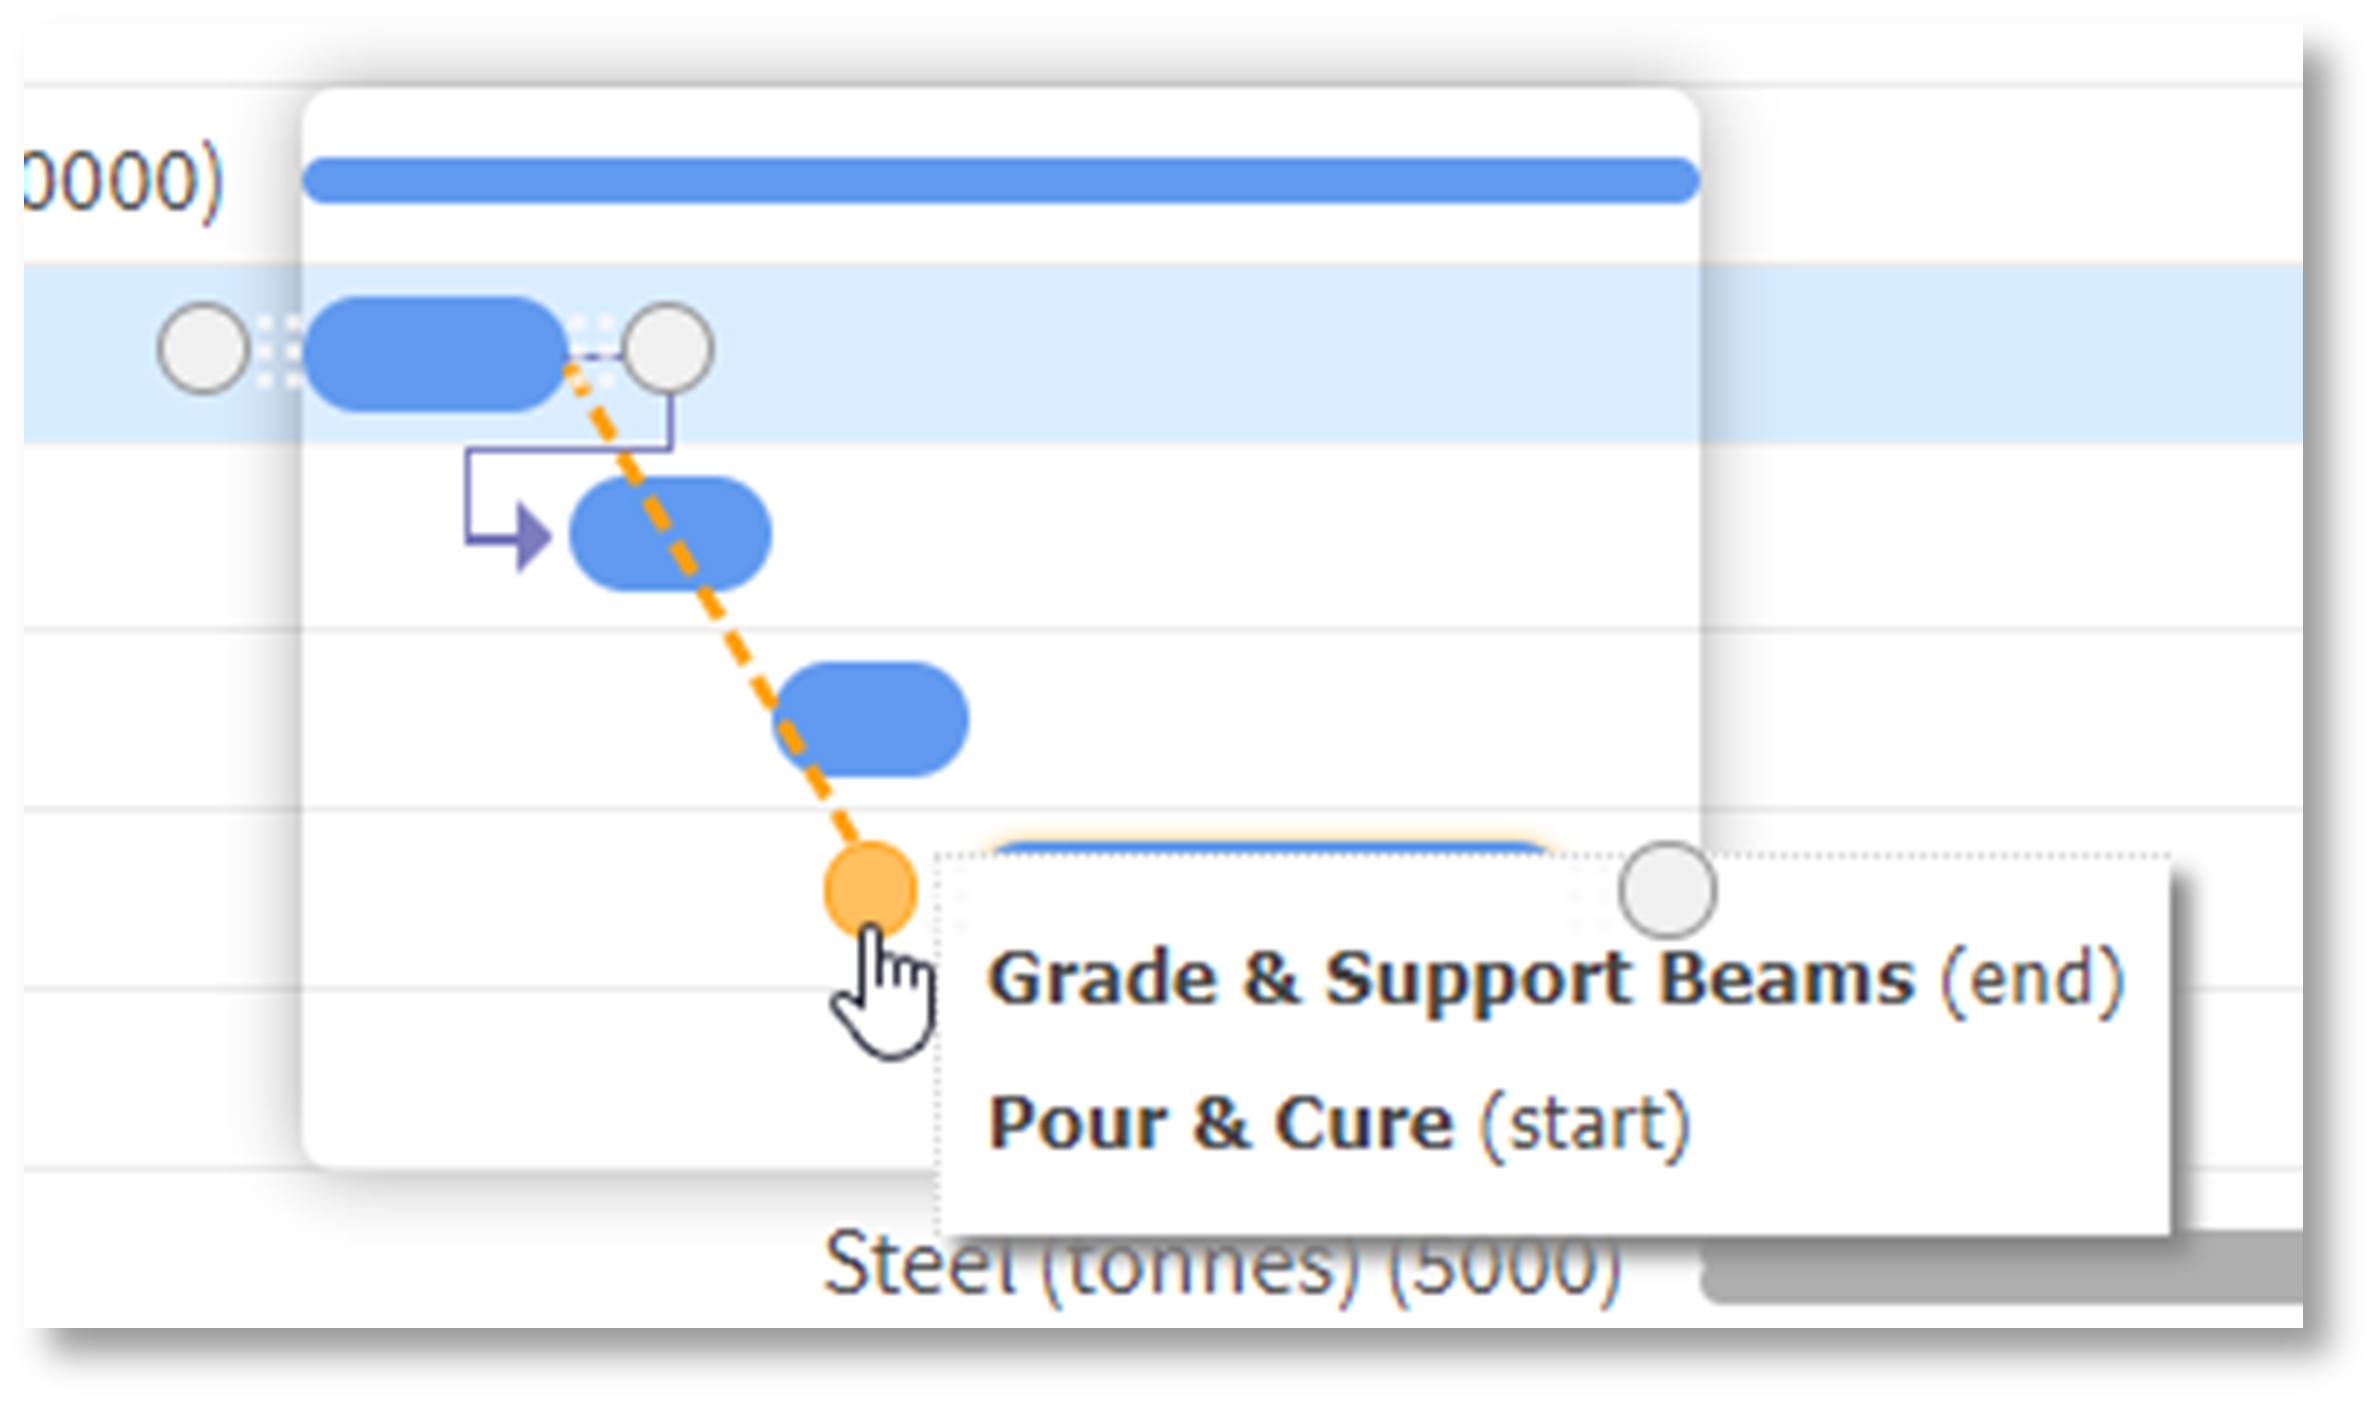
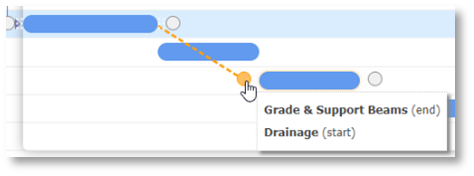
Finish-to-Start (FS) | Connect the end of one activity to the start of another activity |
|
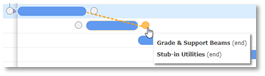
Finish-to-Finish (FF) | Connect the end of one activity to the end of another activity |
|
Start-to-Finish (SF) | Connect the start of one activity to the end of another activity |
The first activity dot selected is treated as the predecessor to the second activity dot. Thus, the second activity will be a successor to the first activity.
Additional Information
9977 N 90th Street, Suite 250 Scottsdale, AZ 85258 | 1-800-637-7496
© 2024 InEight, Inc. All Rights Reserved | Privacy Statement | Terms of Service | Cookie Policy | Do not sell/share my information